
A great manicure is the perfect finishing touch to any outfit – whether you’re headed to a big meeting or a night out on the town. But with so many options available, it can take time to figure out where to start. Fortunately, we’ve got you covered. Read on for our complete guide to getting a mani you love. From picking the right polish to getting the perfect shape, we’ll ensure your nails always look their best. Let’s get started!
The manicure guide for the modern woman
If you’re anything like us, your nails are one of the first places you show signs of stress. Whether you’re a self-proclaimed nail biter or tend to neglect your cuticles when life gets busy, we’ve all been there. But there’s something about a fresh mani that instantly makes you feel put together and polished (no pun intended).
We rounded up everything you need to know for the perfect at-home manicure, from the best products to the most flattering colors for your skin tone. So whether you’re looking for a classic nude or want to try something new, we’ve got you covered.
Step 1: Gather Your Tools
Before starting your mani, ensure you have everything you need within reach. This includes a nail file, clippers, cuticle pusher, orange stick (or another cuticle tool), base coat, polish, top coat, and cotton balls or pads soaked in acetone (for removing polish).
If you still need to get all of these items on hand, don’t worry. A simple Google search will help you find what you need. And if you’re really in a bind, any old household item can act as a makeshift nail tool. For example, a bobby pin can be used as a cuticle pusher, and a pen cap makes a great dotting tool for creating polka dot nails.
Step 2: Prep Your Nails
Once you have your tools, it’s time to prep your nails for polish. Start by washing your hands with soap and water to remove any dirt or oil. Then, use a nail file to shape your nails into the desired shape. If you need help deciding what shape you want, opt for a classic square or round shape.
Once your nails are filed, it’s time to push back your cuticles. First, gently glide the curved end of your cuticle pusher along your cuticle line. Be careful not to push too hard, as this can damage the delicate skin around your nails. If you need help getting rid of stubborn cuticles, soak a cotton ball in warm water and hold it over your nail for a few minutes. This will help soften the skin, making pushing back easier.
Step 3: Apply Base Coat
Now that your nails are prepped and ready, it’s time to apply polish. Start with a base coat, which will help your polish last longer and prevent staining of your nails. Next, apply a thin layer of base coat and allow it to dry completely before moving on to color.
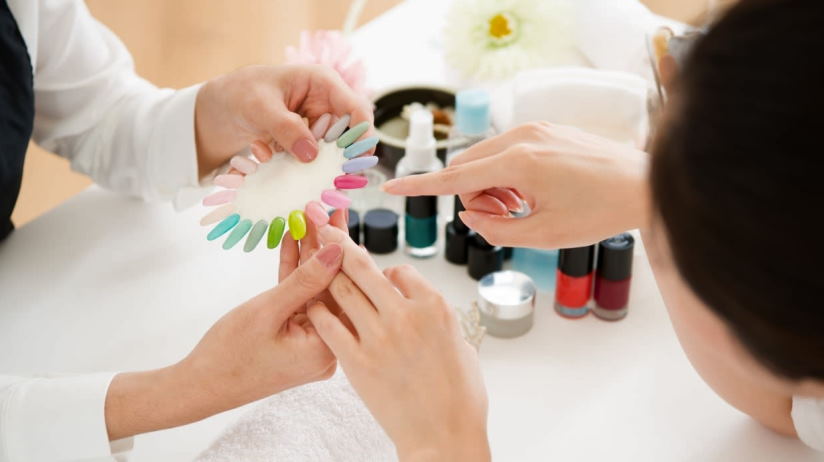
Step 4: Choose Your Polish Color
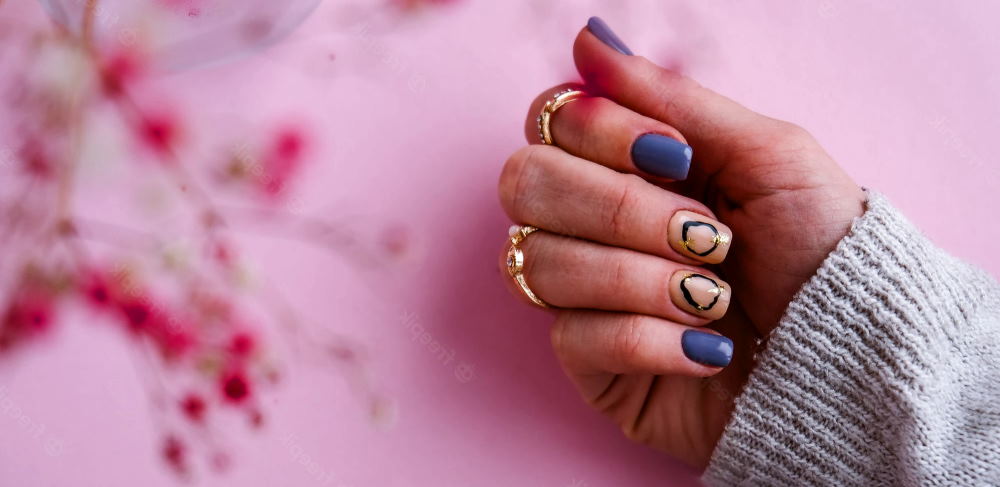
This is the fun part! Selecting the perfect polish color can be daunting, but we’re here to help. Nude polish is always a good choice if you’re opting for a classic look. For something a little more daring, try a bright color or metallic shade. If you can’t decide on one color, go for a trendy ombre mani or mix and match different shades on each nail.
Step 5: Apply Polish
Once you’ve selected your color (or colors), it’s time to start painting your nails. Begin by applying a thin layer of polish to your first nail. Be sure to start in the middle of the nail and work your way out towards the edges. Continue until all of your nails are coated with polish. Allow the first layer to dry completely before adding a second coat.
If you make a mistake while painting your nails, no worries! Dip a cotton ball in acetone and gently rub away the stray polish.
Step 6: Apply Top Coat
Once your nails are completely dry, finish off your mani with a top coat. This will help protect your polish and give it a glossy finish. Allow the top coat to dry completely before touching anything (we know, it’s hard to resist!).
And that’s it! You’re now officially ready to take on the world with your fabulous new mani.
The most fashionable nail designs of the season
What if you want to be different and try something new? Here are four popular trends that you can try out this season:
- Ombre nails: This trend has been around for a while, but it is still trendy. You can get this look by painting your nails with two or three colors, starting with the lightest color at the bottom and gradually getting darker as you go up.
- Glitter nails: If you want to add some sparkle to your nails, then glitter is the way to go. You can either use loose glitter or buy glitter polish. Apply a clear top coat over the glitter to help it stay in place.
- Matte nails: Matte nails have been growing in popularity in recent years. They give your nails a sophisticated look and are perfect for those who don’t like shiny nails. You can get a matte finish by using a matte top coat or a regular polish and then mattifying it with a powder.
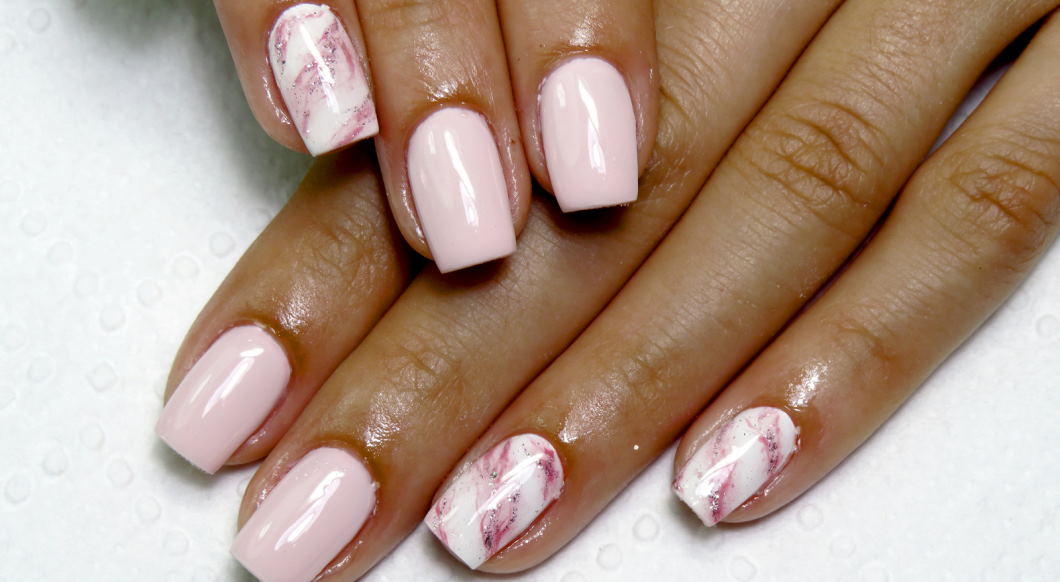
- Nail art: Nail art is a great way to add personality to your nails. There are endless possibilities for nail art, so you can let your creativity shine. You can either go for something simple like stripes or dots or get more complicated designs like flowers or animals.
Which of these trends will you be trying out this season? Let us know in the comments below!
Recommended To You